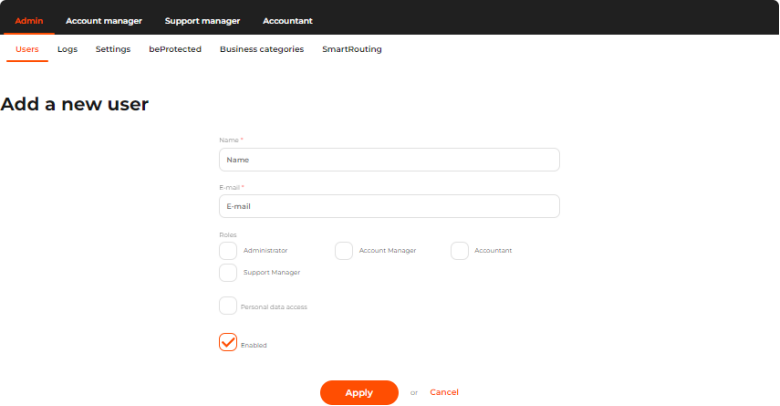
To give a new user access to the system back office, follow these steps:
-
Go to Admin > Users.
-
Click Add a user.
-
On the page that opens, enter the data or activate the checkboxes as described in the table below.
-
Click Apply to save your changes or cancel them.
Table: User account parameters
Parameter
Description
Notes
Name*
A username.
Email*
A user’s email.
This email address is used as a login. The system will send an invitation email there for a user to finish the registration.
Roles
Roles that should be assigned to a user.
At least one role should be selected.
Enabled
A user account activation status.
If an account is deactivated, the user can not log into the back office.
Personal data access
Personal data access permission Users without this permission have no access to the customers' personal data: first name, last name, middle name, address, phone number, email, gender, data of birth, ip, cardholder as well as cardholder equivalent for alternative payment methods (for example, the owner of the wallet). The data are either masked or not displayed.
Also, the corresponding search fields are not displayed for the users without the permission.
By default, the permission is turned off.
*required
Once an account is successfully created, the new user will receive an invitation email to the specified email address with a link to set a password and finish the registration. Then the user can start working in the system.
The link in the invitation email is valid for 2 days after the account is created. To resend the invitation if it expires, a user with the Admin role can resend the link by clicking the Resend button.